
1964 Volkswagen Beetle Restoration
— Project Overview —


Since March of 2017, this project has been a significant part of my life. What started as an attempt at reviving a sad old car quickly turned into one of the most foundational projects that I have undertaken. This restoration has presented an abundance of learning experiences and inspired a lasting passion in the automotive world.
The past five years of work have been filled with unexpected hurdles, a load of mistakes, and at least as many lessons learned. However, through it all, the thought of driving the car in its ‘new life’ drove me to see it through to completion. Having spent 3+ years away for college, the project had slowed to a near halt for a while; but, thankfully, as of Summer 22’ it is nearly complete!
This page serves to document some of the work completed, and is broken up into sections categorizing the various stages/steps of the restoration process. Although not ‘all inclusive’ due to the scale of this project, the sections below cover many of the the main focuses of my work.


Disassembly
I : The Basics
Having never done any work on a car prior, the first thing I thought to do was begin disassembly. Both to familiarize myself with the components of the car, and perhaps more importantly to get a better idea of what needed to be done…which I quickly found out was a lot.


II : Body & Chassis (DIY Car Lift)
When it came time to detach the body from the chassis, and subsequently the engine from the chassis, a challenge presented itself. Without tall enough jack stands, or better yet an actual car lift, both tasks were hard to do at home to say the least. The solution I came up with was to raise the body off of the chassis (and engine) with ratchet straps. Two pulleys were mounted to our garage’s rafters and the straps were fed through the empty window extrusions, as pictured below.
Thankfully, the beetle is such a light car, otherwise this DIY solution would likely have been much less feasible.


Bodywork & Paint
I : Hand-Sanding Everything
Following the complete disassembly of the car, the next step was to begin removing the original paint and primer from the body, occasionally needing to strip sections down to bare metal in an effort to remove years of rust. With the body sanded down inside and out, I began to mark every imperfection I could find prior to applying Bondo to correct the surface.
With no prior experience doing bodywork on any part of a car, the combined process of sanding and repairing the entirety of the car took quite a while: nearly a year of on-and-off work. However, it provided a great learning experience and an intimate familiarity with every surface of the car.


II : Sandblasting
Despite nearly a year of time invested in hand-sanding the entirety of the car, we ultimately decided to have the body sandblasted to achieve more of a ‘blank canvas’ for painting; especially with regards to rust elimination. This job was outsourced due to a lack of the necessary equipment. However, this came with unexpected drawbacks…namely damage (small imperfections) to the body.


III : Paint (and more bodywork)
Unfortunately, due to the damages incurred from sandblasting, more bodywork than anticipated was necessary prior to paint and primer:


The paint job was one of only a few aspects of this project that were outsourced. And thankfully so, as the final result is absolutely stunning. The paint color is ‘stonewashed blue metallic’, identical to the very last Beetle produced; the 2019 VW Beetle - ‘Final Edition’ (reference photo shown below).


2019 Volkswagen Beetle - Final Edition (Source: The Daily Drive)
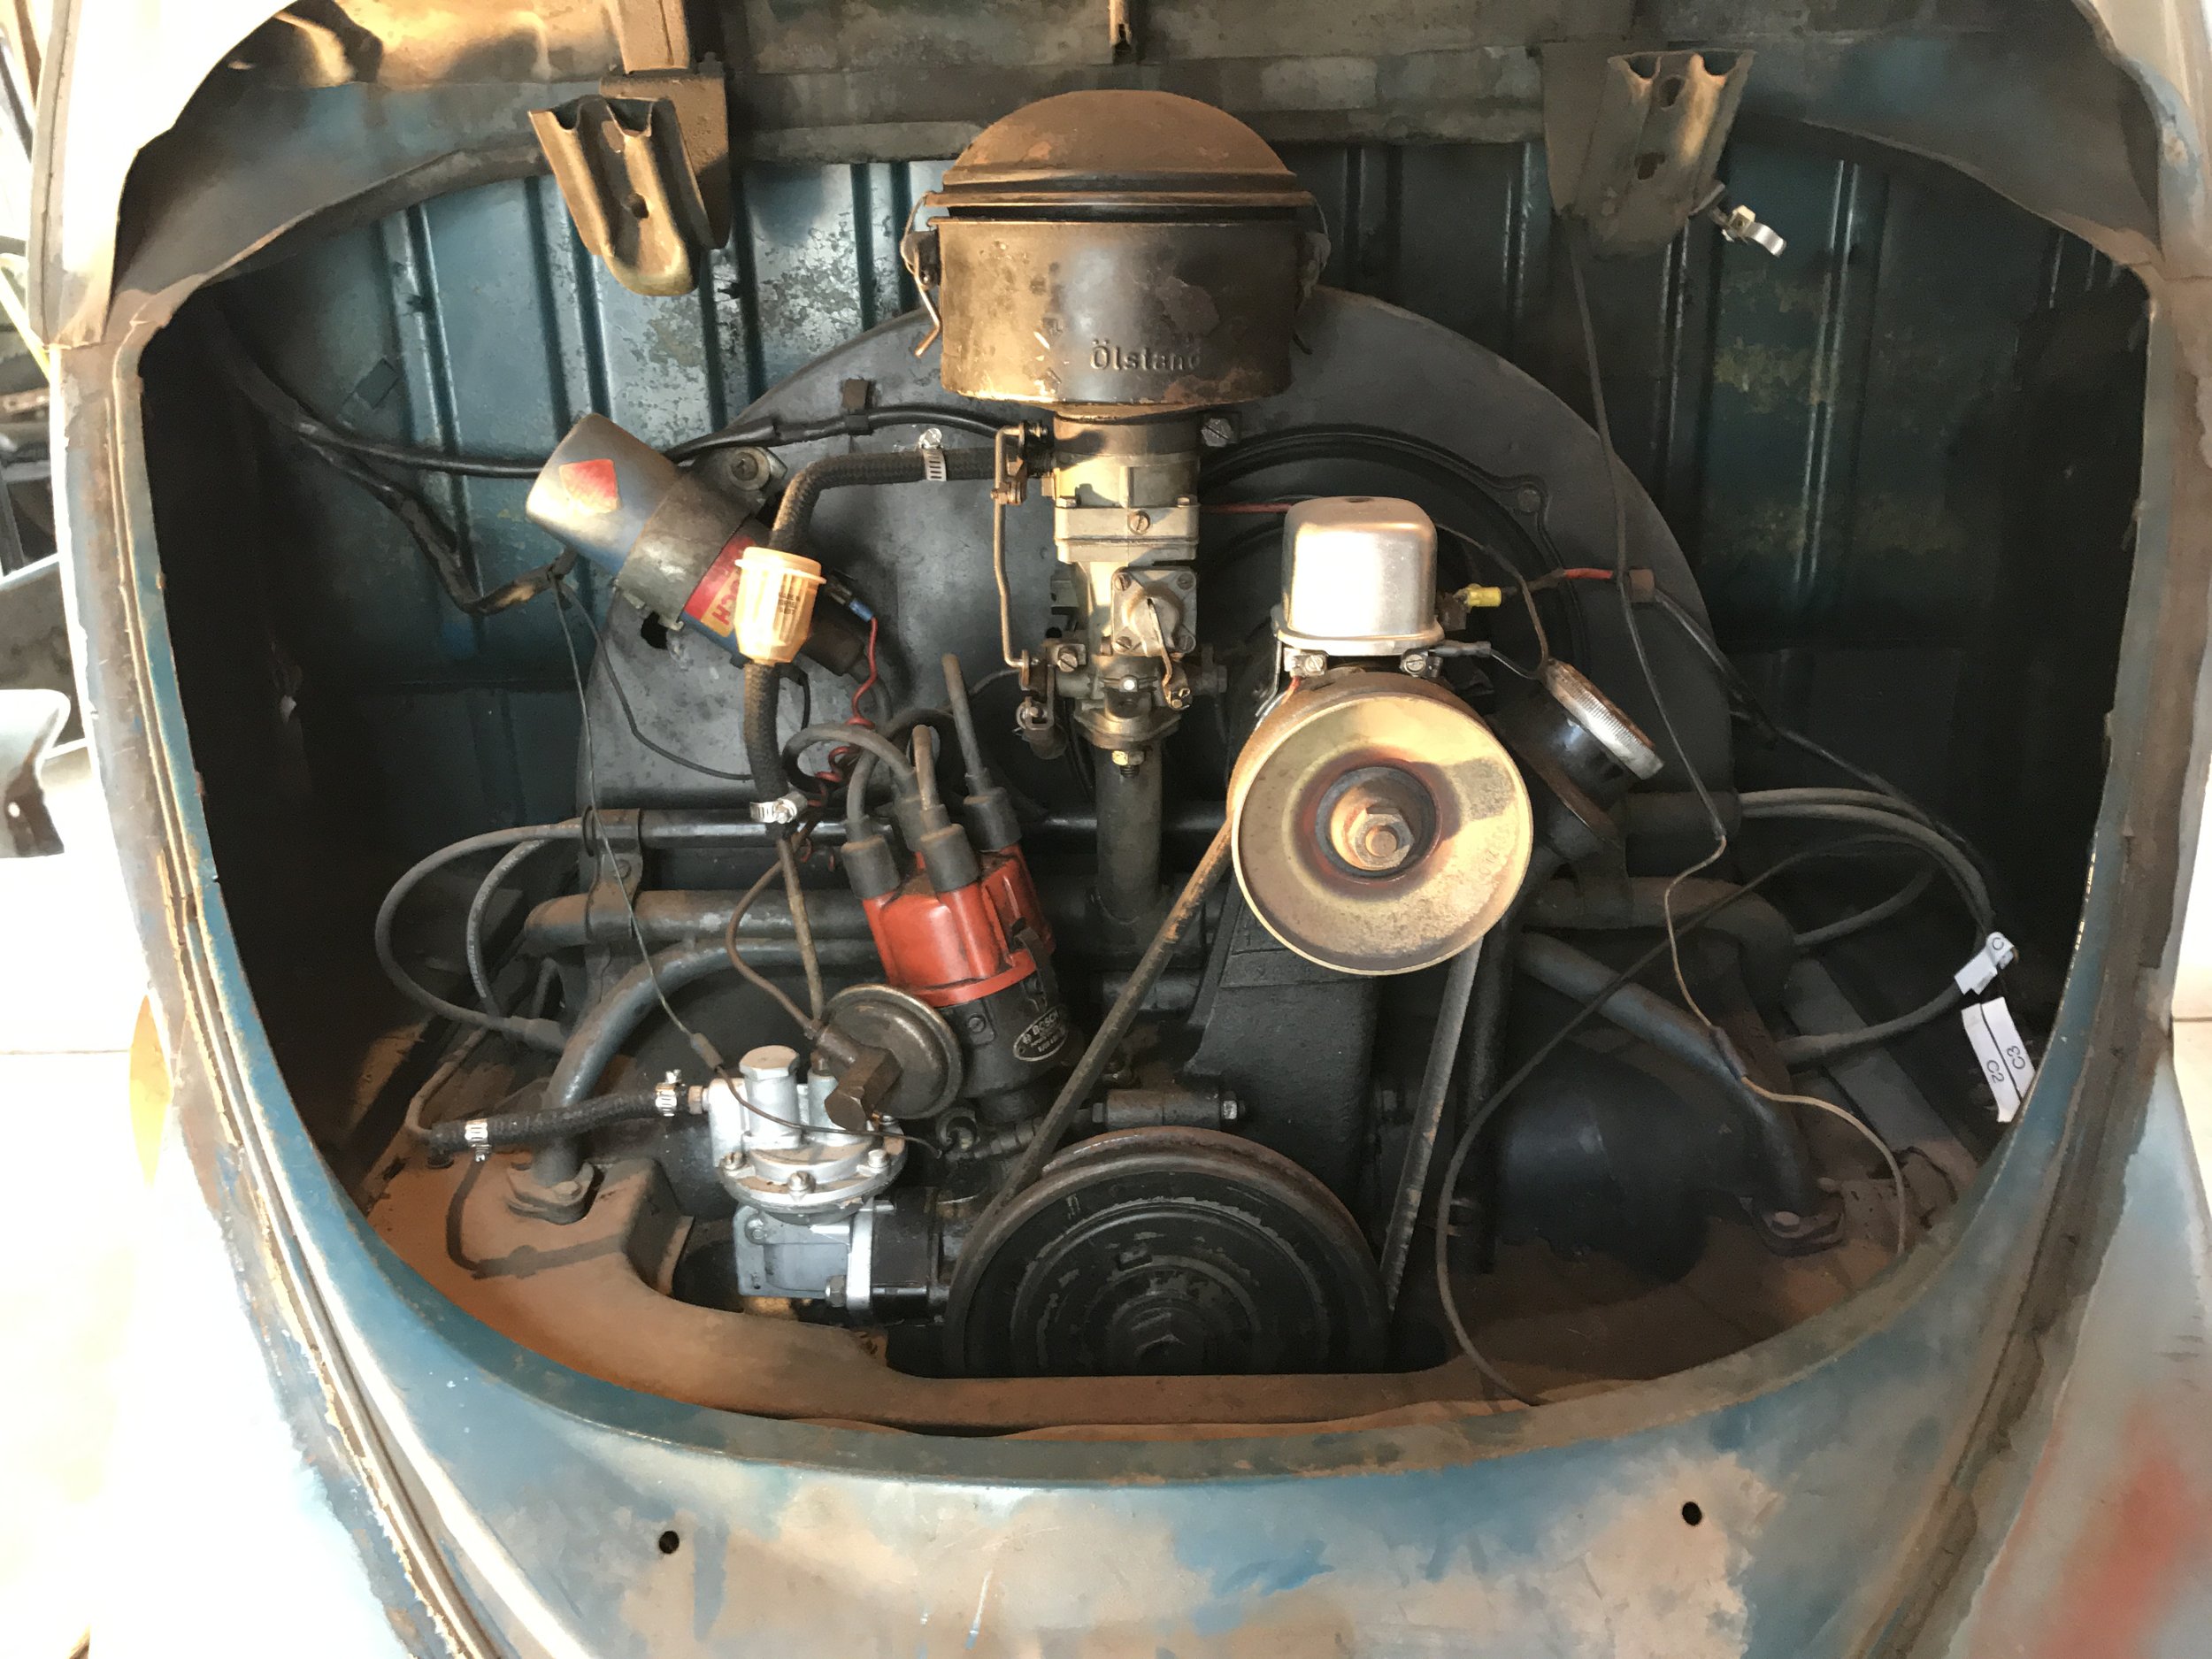
Engine
Having removed the engine from the body/chassis, it was ready to be restored. All parts were removed from the engine block, cleaned, inspected and repaired where possible. New parts were installed to revive its performance, appearance, and sound — notably a new exhaust, modern air filter (in place of the original oil-soaked horse hair), and a new belt and pulley.
One interesting discovery during the restoration process was that, despite the body and chassis being from 1964, the engine is from an earlier year (either 60’ or 61’).


Wiring & Electrical System
I : Wiring Schematic & Diagram


I created the diagram & schematic above during the ‘bag & tag’ phase of disassembly. This consisted of photographing the original electrical connections and wiring configuration, tracing and labeling each wire, and then removing them for storage.
I could hardly have anticipated how crucial the organization of this process was. When the time came to reassemble the car, the electrical system presented some unanticipated challenges that necessitated referencing this diagram and old photos.


II : New Battery & Cover


The new battery purchased for the car is larger than stock, meaning the original battery cover was no longer usable. To replace it, I referenced the original part while taking measurements of the new battery, allowing for a similar design with reworked dimensions. This part was designed in CAD and then sent to a machine shop for fabrication.
Likewise, the former metal strap to secure the battery & cover no longer fit. So, I instead cut and attached an old belt to the floor-pan on either side of the battery’s slot; this created a somewhat stylish (and more importantly simple) way of fastening the new battery.
III : She’s Alive!


Getting each electrical system in the car working properly was no easy task, but it was easily one of the most rewarding aspects of this project. Seeing the headlights turn on…hearing the horn blare…and of course getting the engine to fire up after years of rest were all such significant milestones.
Interior & Upholstery
A lot of work was done on the interior of the car:
To improve sound insulation within the vehicle, Kilmat sound insulation was cut and stuck to most (hidden) interior surfaces. Weatherproofing was done by replacing the worn weatherstrips around each door and attaching plastic sheets as a moisture barrier on the doors and interior quarter-panels (later hidden with upholstered panels). Additionally, a full interior kit was installed — including carpet, new seat upholstery, and a new headliner.
I : Sound Insulation & Carpet


II : Seat Upholstery


III : Headliner


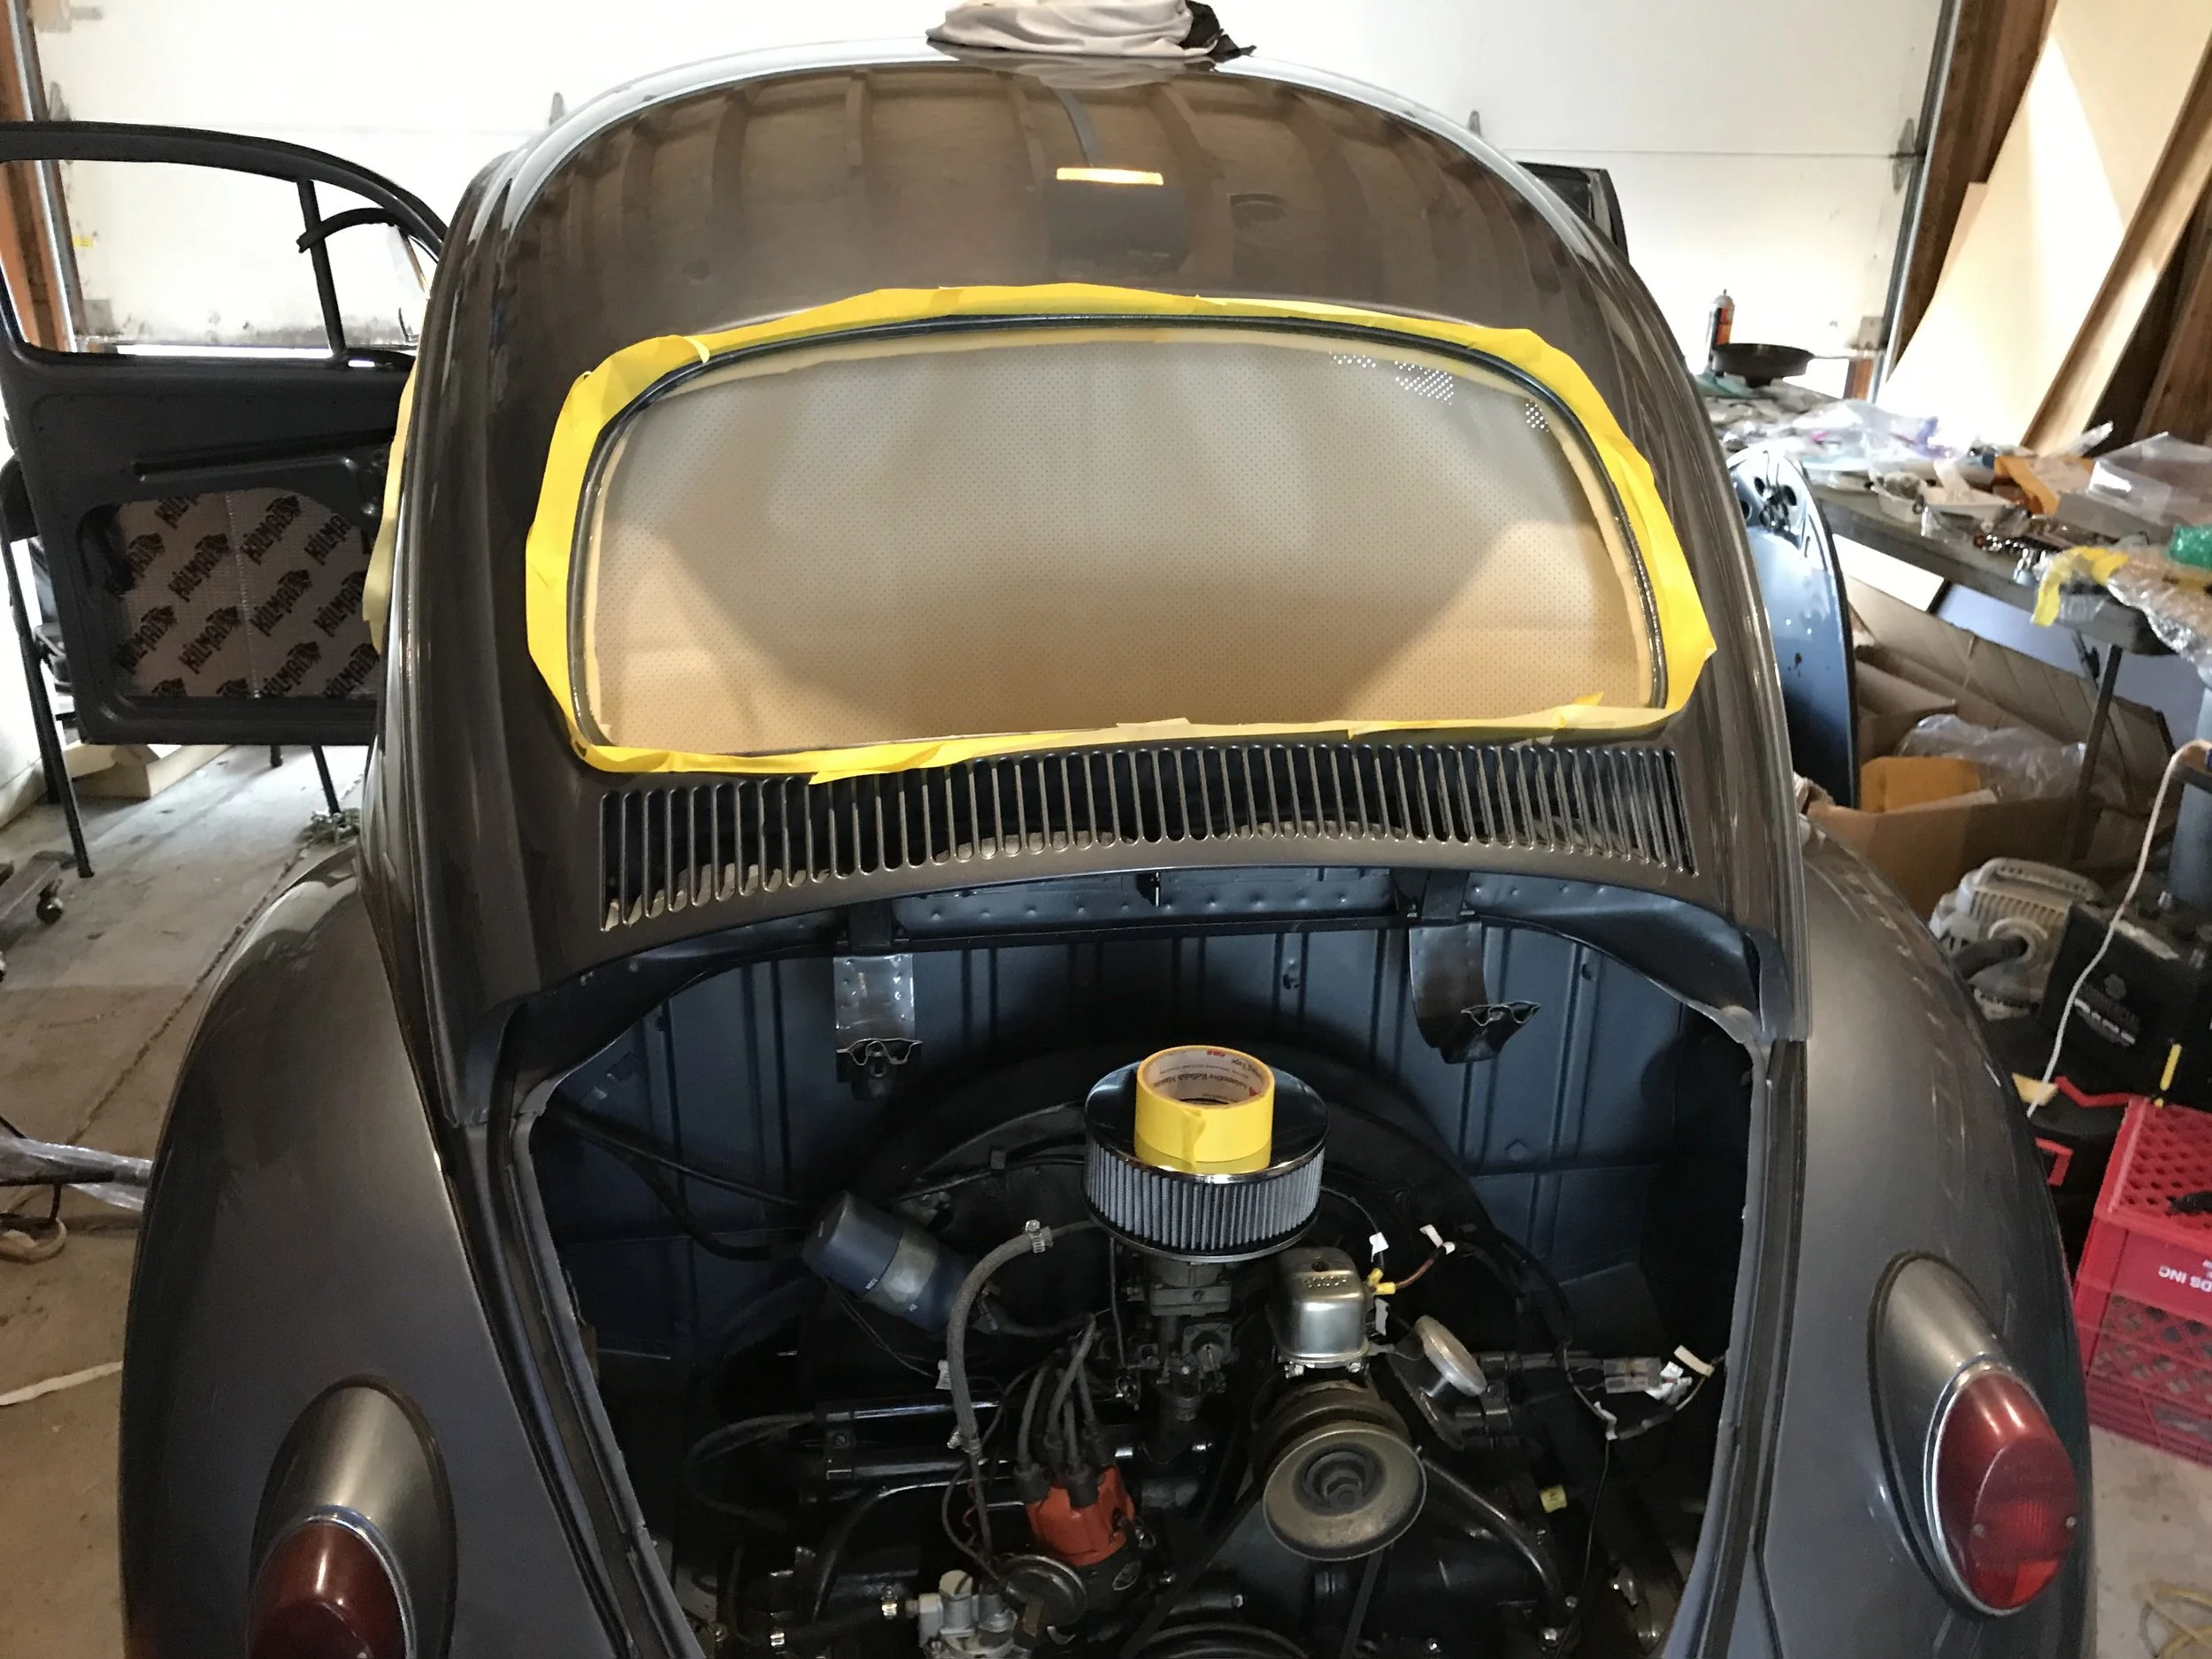


The upholstery process presented a steep learning curve, with little room for error especially with regards to the headliner installation. The result was far from perfect but not bad for my first attempt. Thankfully, many of the wrinkles were removed with a heat gun after the reinstallation of the windows.
Misc.
I : Chrome Revival
One of the most satisfying restorative efforts throughout this project was bringing the original chrome parts back to life. Surprisingly, all this took was a bucket of warm water and some aluminum foil; not to mention a lot of scrubbing.
This was a simple and reliable process, yielding great results:


II : Undercoating
One of the weatherproofing & rust prevention efforts made for the exterior of the car (particularly the underside) was the application of a rubberized undercoating. This was done for all fenders, and was done while they were installed such that each wheel-well could be similarly coated.

Undercoating on the rear, passenger side, fender and wheel-well